
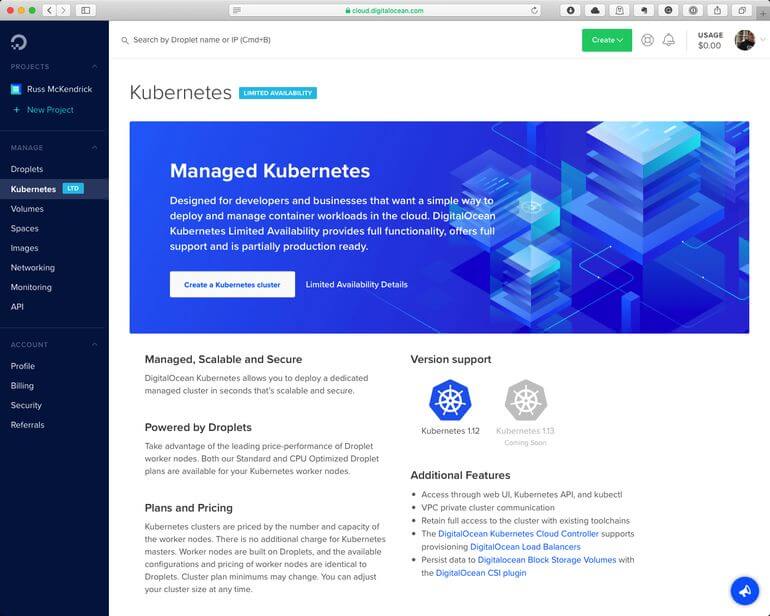
A few days ago DigitalOcean released their Managed Kubernetes service, as I had a little time this afternoon I decided to give it a spin.
Each of the public clouds has a Kubernetes service now, I covered these in the third edition of Mastering Docker . The general gist of the chapter was that both the Microsoft Azure and Google Cloud offerings were both excellent. However, the Amazon Web Services offering was an over-complicated mess.
Given that DigitalOcean has always prided themselves ease of use and a low barrier to entry so that developers can get stuck in it will be interesting to see which category their offering fits into.
First of all, I needed to launch my cluster, to do this I logged into the DigitalOcean control panel and enabled the limited Kubernetes service, once I had done that I was able to create my Kubernetes cluster;
As you may have already guessed, we need to click on the Create a Kubernetes cluster button which can be found in the header. Once you click on the button you will be taken a page which where you can decide a few details about the size of the cluster and where you would like it to be launched, along with the version of Kubernetes you would to use;
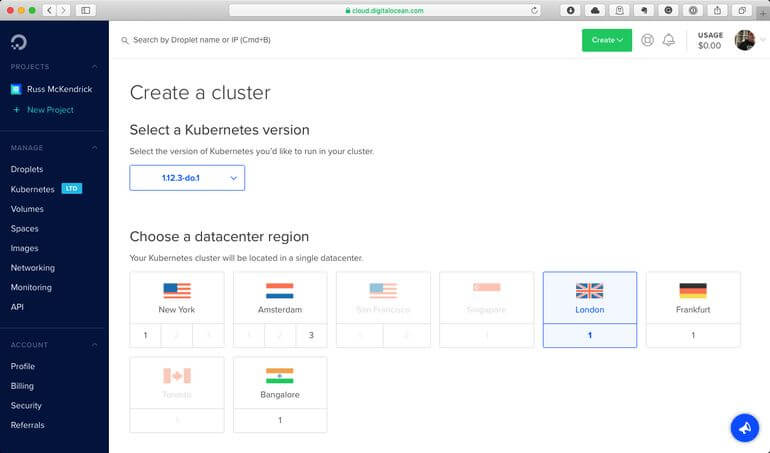
As you can see from the screen above, I used the latest version of Kubernetes supported by DigitalOcean, and as I am based in the UK, I choose to use DigitalOceans London datacentre region.
Scrolling down, I was able to choose the number of nodes in my cluster, their specs, tags and also give my cluster a name;
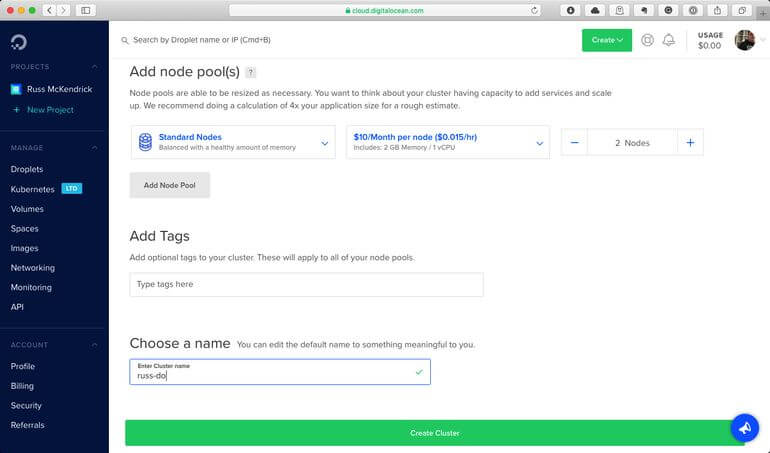
The default number of nodes is 3, which at $10 per month per node would have meant that I would have been able to run a cluster with 6GB of RAM and 3 x vCPUs for $30 per month. Once I was happy with my settings I clicked on the Create Cluster button at the bottom of the page.
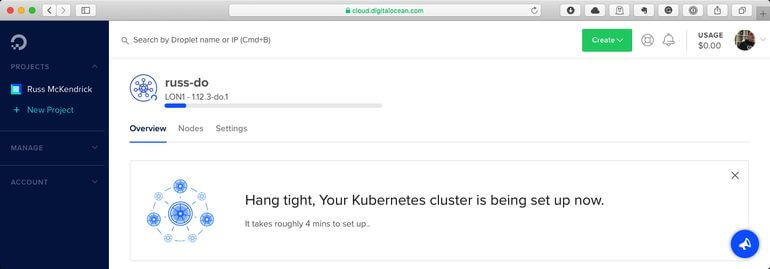
As you can see from the from the screenshot above, you get a rough estimate on how long it will take to launch and configure your cluster. Once your cluster has been created you will be presented with the following;
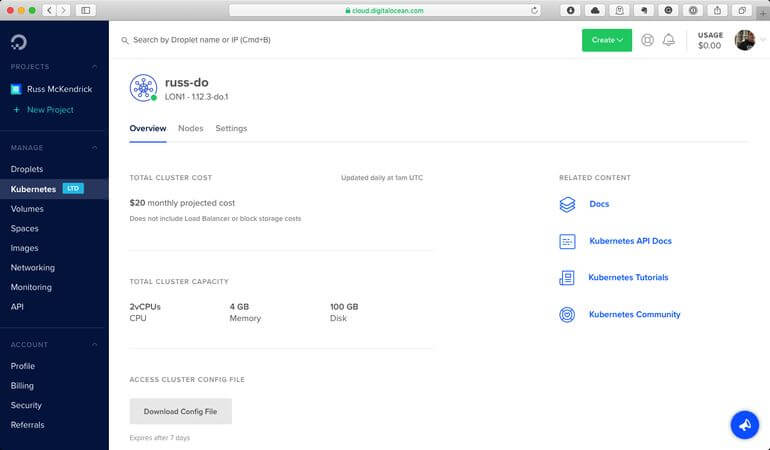
Towards the bottom of the overview page, you have the option to download your configuration file, clicking on the Download Config File button will download a YAML file which contains all of the information you need to connect your local Kubernetes client, kubectl, to your newly created Kubernetes cluster.
You can test the connection to your cluster by opening a terminal, changing to the location of the YAML file and then running the following command, making sure to update the name of the file to match that of yours;
$ kubectl --kubeconfig="russ-do-kubeconfig.yaml" get nodes
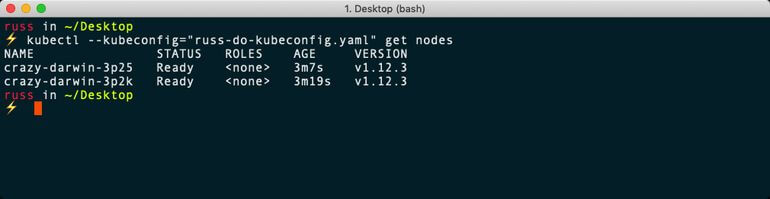
As you can see, this returned two nodes, which is correct. Now, passing the configuration file each time I want to interact with my cluster can be a chore, so let’s look at using the excellent KubeContext by Hasan Turken, which is available from the Mac App Store .
This application allows you to manage your Kubernetes configurations and contexts from your menu bar, as I am already running Docker Desktop on my Mac with Kubernetes enabled I already have a configuration.
Selecting Manage Contexts from the menu brings up a dialog box where you can view your current Kubernetes configs;
There is an Import Kubeconfig button at the bottom, clicking this will open a file explorer where you can select the configuration you downloaded. Once imported, you should see something like the following;
Clicking on Apply will save the changes, and you will be able to switch to the cluster using the Switch Context menu.
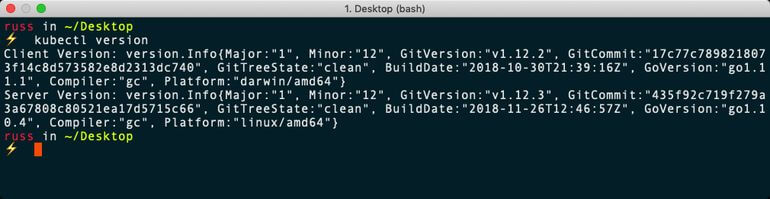
Running the following commands should show you your cluster nodes and also the version of Kubernetes running on the server;
$ kubectl get nodes
$ kubectl version
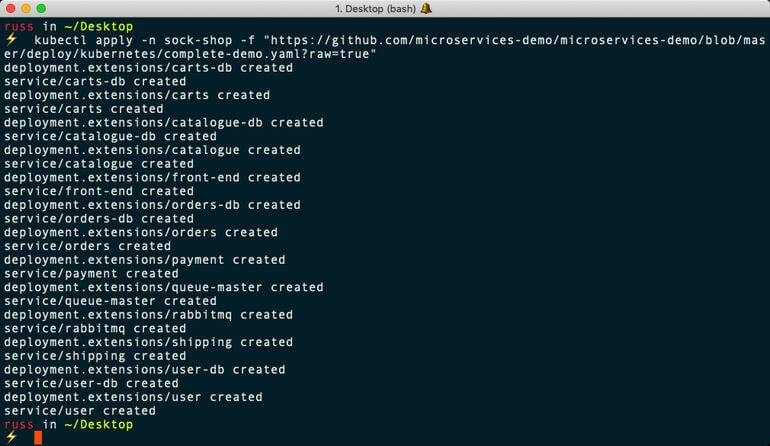
Now that our cluster is up and running, and we can connect to it let’s test it by launching something. I typically tend to use the Sock Shop microservices demo by Weave, which you can https://github.com/microservices-demo/microservices-demo .
To launch the demo shop use the following commands;
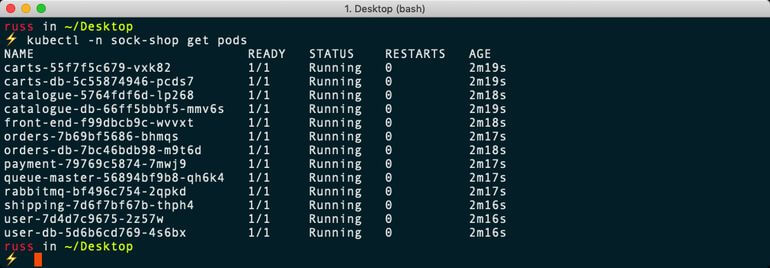
$ kubectl create namespace sock-shop
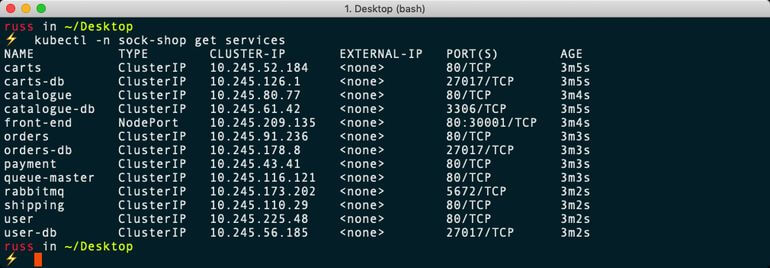
$ kubectl apply -n sock-shop -f "https://github.com/microservices-demo/microservices-demo/blob/master/deploy/kubernetes/complete-demo.yaml?raw=true"$ kubectl -n sock-shop get pods$ kubectl -n sock-shop get services
This will download the containers and launch the application.
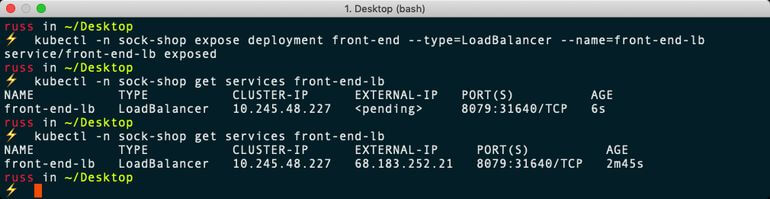
Once launched, you can expose the application by running;
$ kubectl -n sock-shop expose deployment front-end --type=LoadBalancer --name=front-end-lb$ kubectl -n sock-shop get services front-end-lb
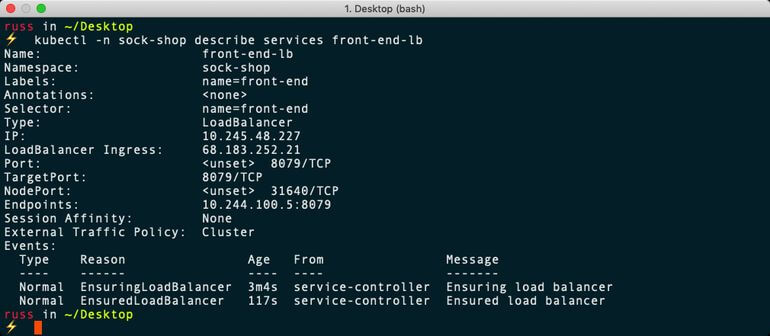
$ kubectl -n sock-shop describe services front-end-lb
As expected, this launches a DigitalOcean load-balancer, you should be able see the public IP address of the load-balancer in the output of the last two command;
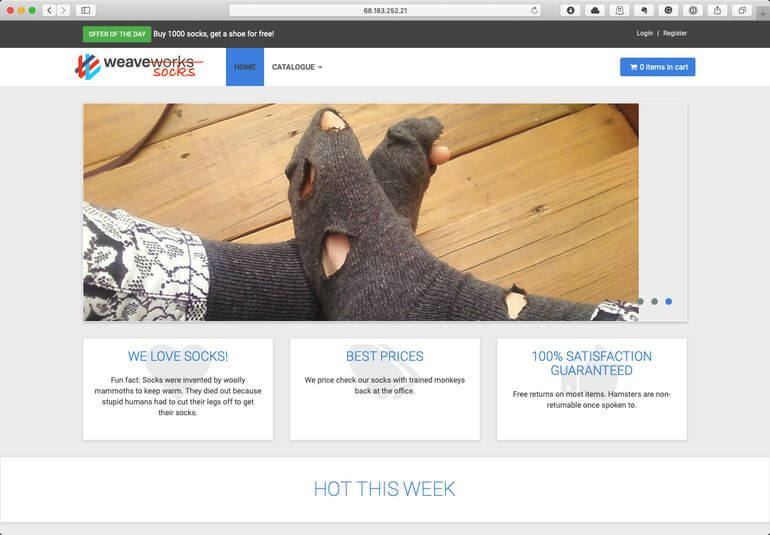
Going to the IP address and port 8079 in a browser, for example, http://68.138.252.21:8079/ will show you the shop-front (well it would if my test cluster was still online);
Once you are finished with the cluster you can return the DigitalOcean control panel, find your cluster and then click on Settings, in here you will find an option to destroy your cluster;

Also, don’t forget to remove the context from your Kubernetes configuration file.
So how did DigitalOcean’s managed Kubernetes service hold up against the other services? Quite well, for a new offering, it feels polished and is straightforward to use and does a great job of hiding the complexity which is going on in the background.
Once you can interact with the service from the DigitalOcean command-line tools and also download the cluster configuration directly it will easily be on par with the Kubernetes offerings from Microsoft Azure and Google Cloud.
You can find out more on the DigitalOcean Managed Kubernetes service at the products homepage at https://www.digitalocean.com/products/kubernetes/ .